Before - 37w3d

After - 19 days old. Can't quite work out how they fitted in there!

Our favourite shot from our newborn photo shoot at 13 days old. Master T in the green blanket and Miss S in the grey blanket.


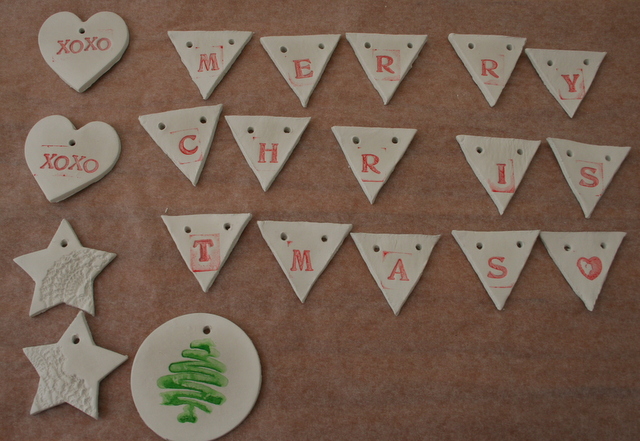
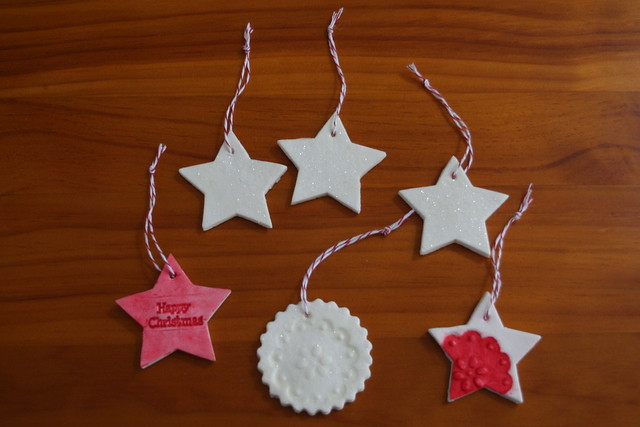 I've seen recipes for baking soda clay all over pinterest and thought it looked like a pretty easy way to make some new white ornaments for the tree. I also had an idea of making some mini clay Christmas bunting. The dough sounded ideal (I used this recipe but made a half size batch) - three ingredients, easy to make, the clay stayed white, you could stamp it with patterns and you could air dry or oven dry it. Well, this is the story of a pinterest fail! The dough worked, was lovely to roll out, and easy to stamp. But, it cracked really badly when it dried (I chose to air dry rather than oven dry so they would dry slowly). They cracked so much that those 6 ornaments in the picture above were all that were salvageable from the entire batch of about 25! I don't know what went wrong. It didn't seem to be because of the thickness of the rolled out clay. I had both thick and thin ornaments crack. Some ornaments cracked where I had pushed a hole in the for stringing up. Some cracked where I had stamped them. Others cracked in random places.
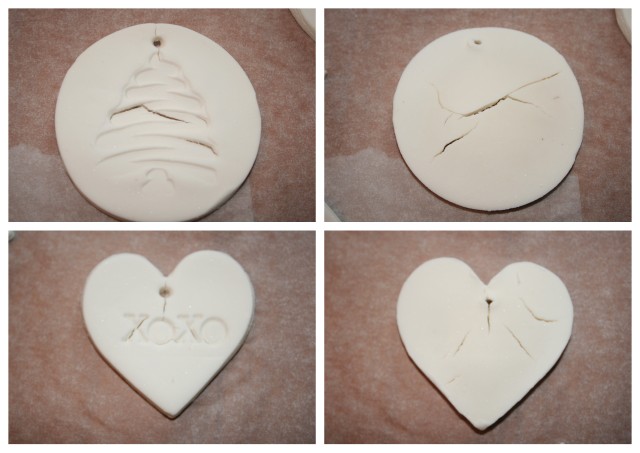

 I love baking for Christmas, and luckily I have a husband with a sweet tooth like mine who loves to eat my baking. Win, win. I bake, and someone else can eat most of it! This year we will be hosting some of Alex's family for morning tea on Christmas day, so I thought I should make some special festive treats. These two recipes are favourite Christmas treats in our house.
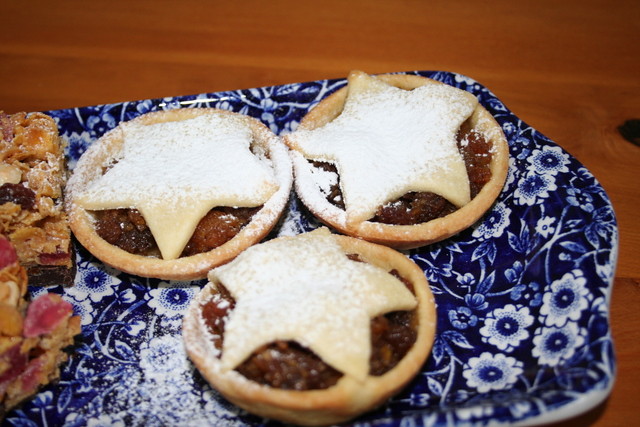 For this recipe you definitely need a food processor for both the fruit mince and the pastry.